If your event website is built in WordPress, there's a simple way of embedding Sessionize's content in it. Here's how to do it.
Create an embed endpoint
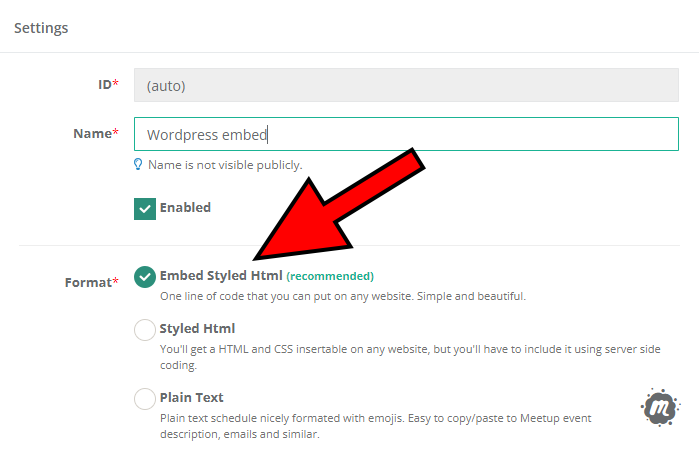
Visit your event's API / Embed page on the organizer dashboard of your Sessionize profile. Click Create new endpoint. Choose Embed Styled Html format and confirm everything by clicking Save changes.
Get the embed code

The embed codes can be found by opening the embed endpoint and clicking on the blue </> Get Code button.
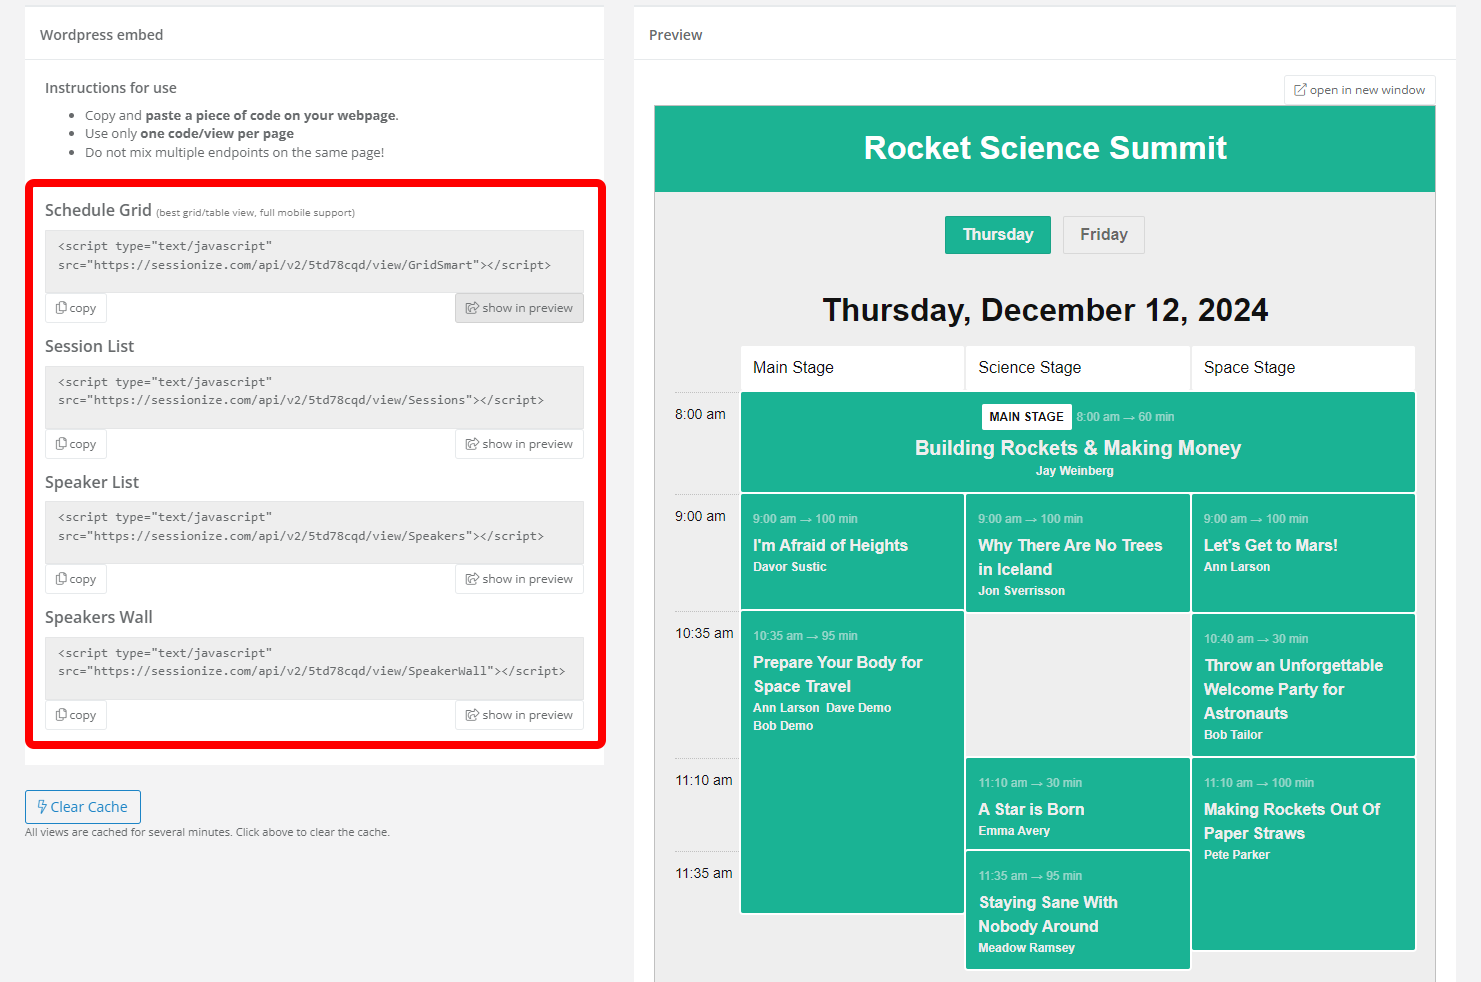
There are multiple embedding options available: Schedule Grid, Session List, Speaker List, and Speakers Wall. Copy the code from whichever you want to use. You can preview it directly in Sessionize by clicking the show in preview button. Make sure you have at least a few sessions accepted and scheduled, and their speakers informed; otherwise, your embed won't have any content. This is done on your event's Sessions page.
Create a Custom HTML widget
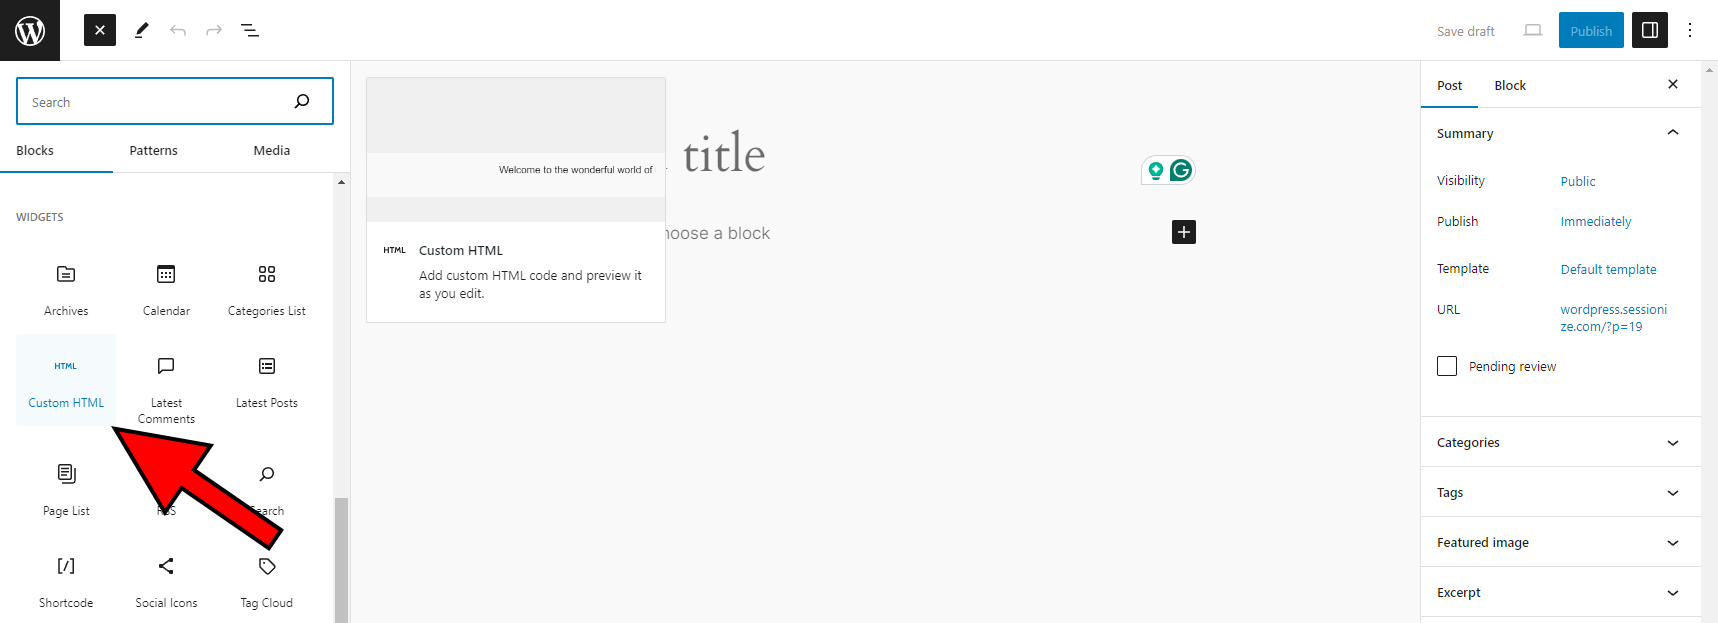
When editing a post for your WordPress website, click on the “+” icon in the top left corner to create a new block. In the pop-up list, look for the Widgets category and select Custom HTML.
Insert a desired embed code
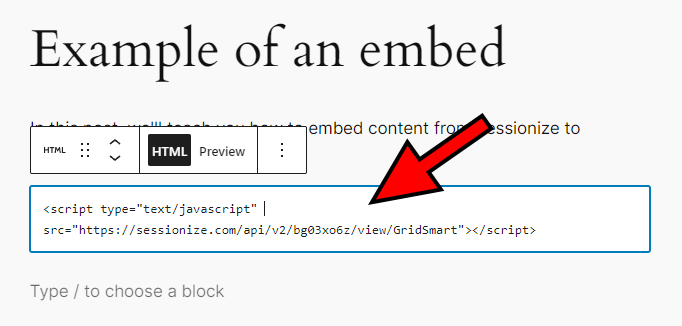
In the custom HTML code window that appears, simply insert the desired embed code, which you got after creating an embed endpoint in your event's dashboard. That's it! The content you decided to embed will show up on your website.
Sessionize previously used a dedicated WordPress embedding plugin, which is no longer needed. In case you still want to use it, you can download it here.