When you build your event's schedule, the schedule and all of its details (room names, session start and end times, etc.) aren't visible to anyone but yourself and your team members. The schedule becomes visible to others only after you announce it.
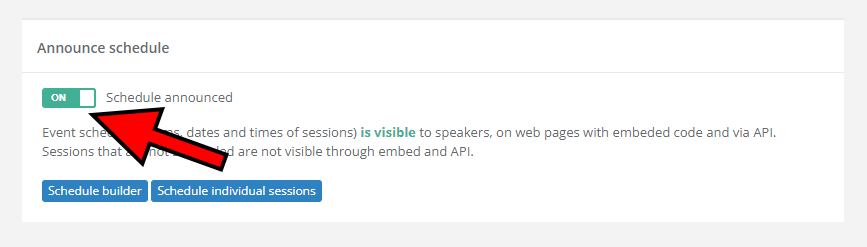
To announce the event's schedule, visit the Announce schedule page and switch the Schedule announced toggle from Off to On. After doing so, your schedule becomes visible to speakers, through the API, and on any web pages that use the appropriate embed code.
Announcing the schedule is quite a milestone for any event organizer. For that reason, do your best to set everything up exactly as planned prior to announcing the schedule, as any potential future changes will be visible to your speakers and attendees.
Need help using our Schedule builder to create a schedule for your event? Please read the following article: Schedule builder: Tips and tricks.
What if I have unscheduled sessions?
An important thing to keep in mind is that after announcing the schedule your unscheduled sessions and speakers won't be visible in the API / Embeds you created. There are three ways to make them visible:
- If you announced the schedule unintentionally, switch the Schedule announced toggle from On to Off
- Schedule the desired remaining sessions to make them appear in your API / Embeds
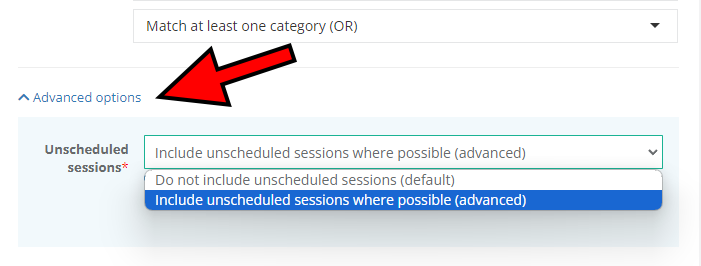
- Open your API / Embed endpoint, expand the Advanced options menu, and set the Unscheduled sessions option to Include unscheduled sessions where possible (advanced). Confirm by clicking Save changes