Sessionize enables you to use custom fields to keep track of just about everything you might find relevant about the sessions submitted for your event and the people submitting them. For best results, configuring the form fields should be done ahead of launching the call for speakers (call for papers), but you can freely add, remove or rearrange them at any given moment.
Session and speaker fields
There are two kinds of fields for you to customize:
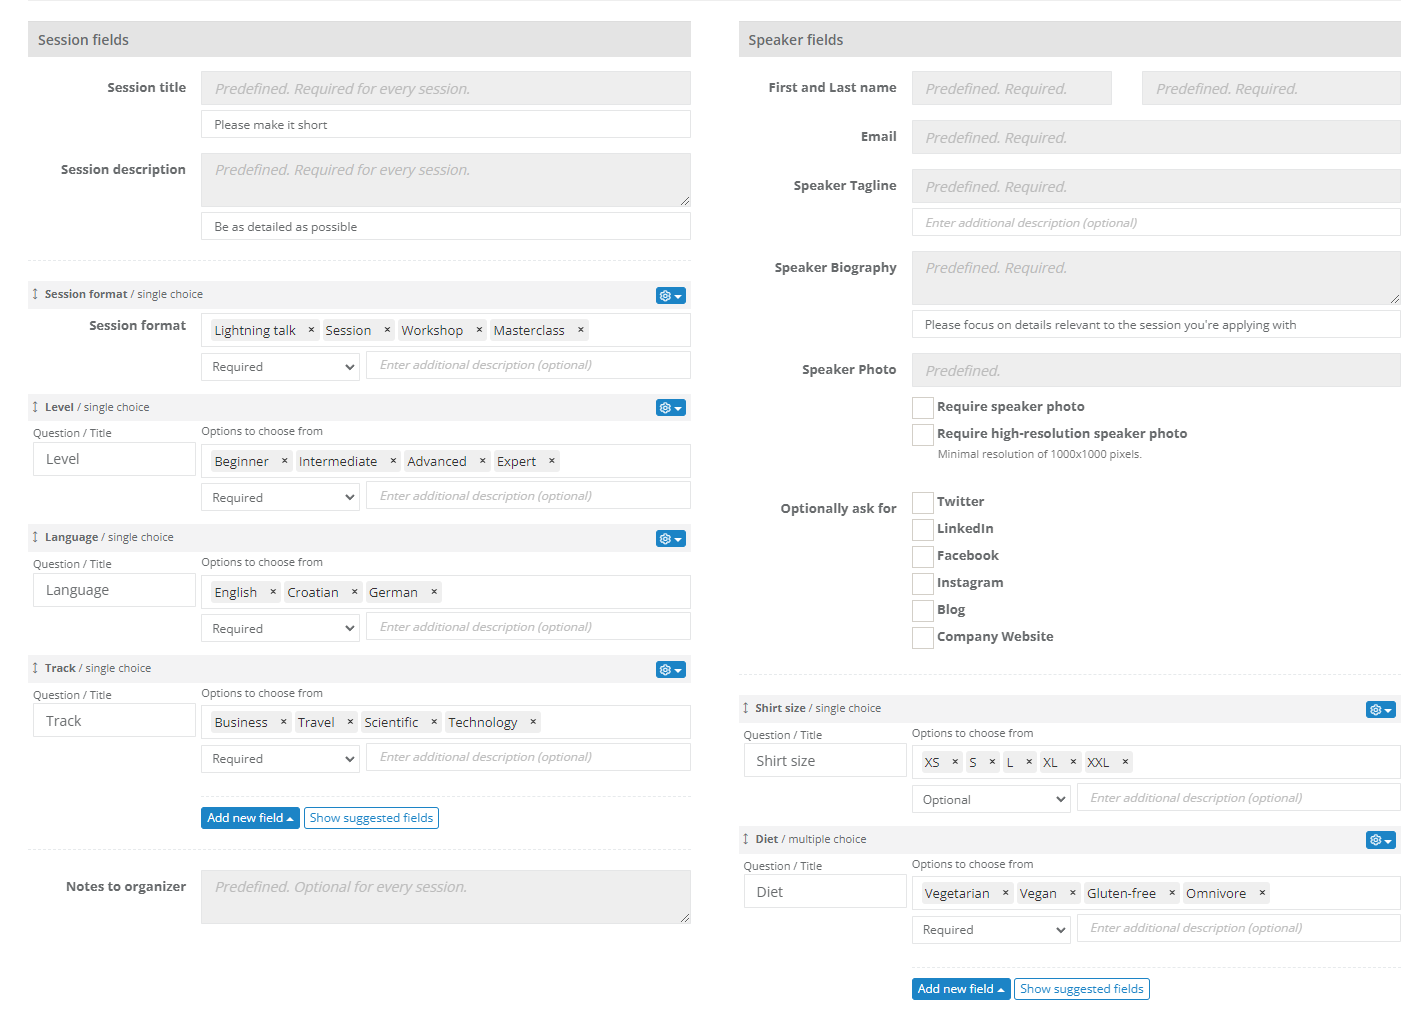
- Session fields - fields containing information related to the sessions being submitted (session format, track, level, language, and similar)
- Speaker fields - fields containing information about the speakers (social network links, shirt size, flight number, demographic categories to ensure diversity and similar)
If a certain session has multiple speakers, session fields will have to be filled out only once, but each speaker will have to fill out the speaker fields individually. Likewise, if a single speaker submits multiple sessions, they will have to fill out the session fields for each session separately. They only need to fill out the speaker fields once in such a scenario, though.
Once created, a session field cannot be converted into a speaker field (and vice versa).
Field groups
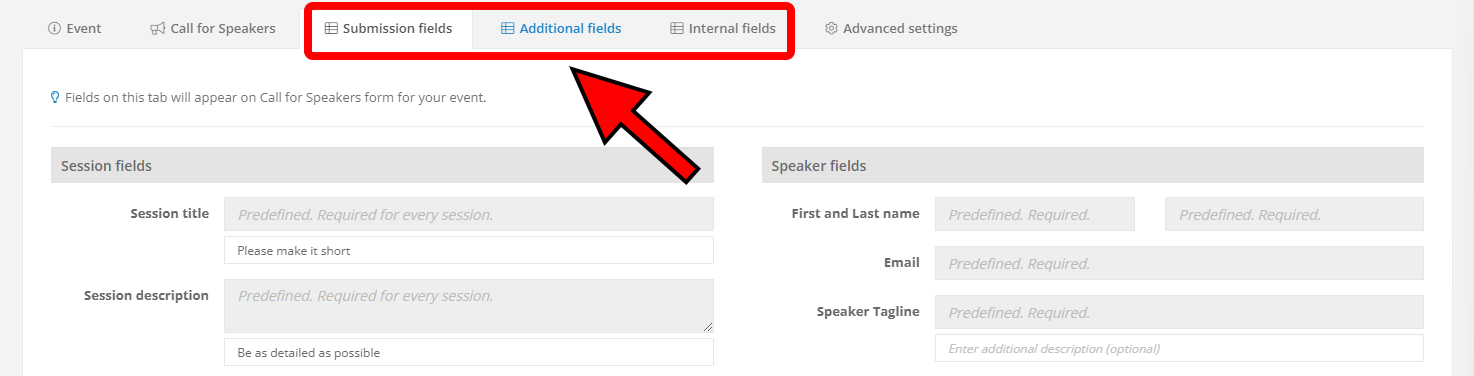
The fields are arranged into three groups, and each has a section dedicated both to sessions and speakers:
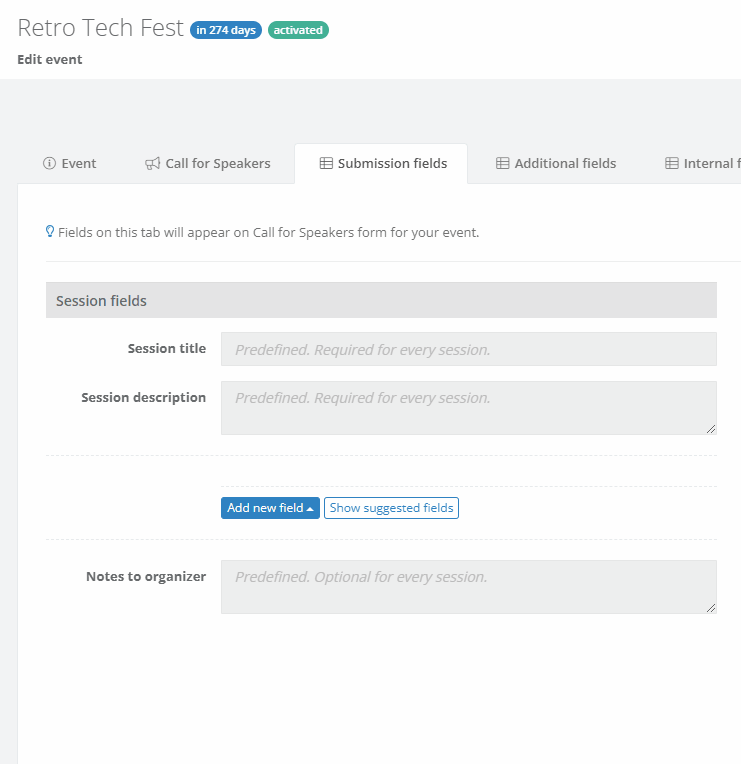
Some Submission fields are predefined and mandatory for every session, but you can also add an unlimited number of custom ones at will. All submission fields, both predefined and custom ones, share a common denominator: they're all visible on your event's Call for Speakers page. Predefined fields are session title and description, as well as speaker name, email address, tagline, and biography; submissions lacking that information would make little sense.
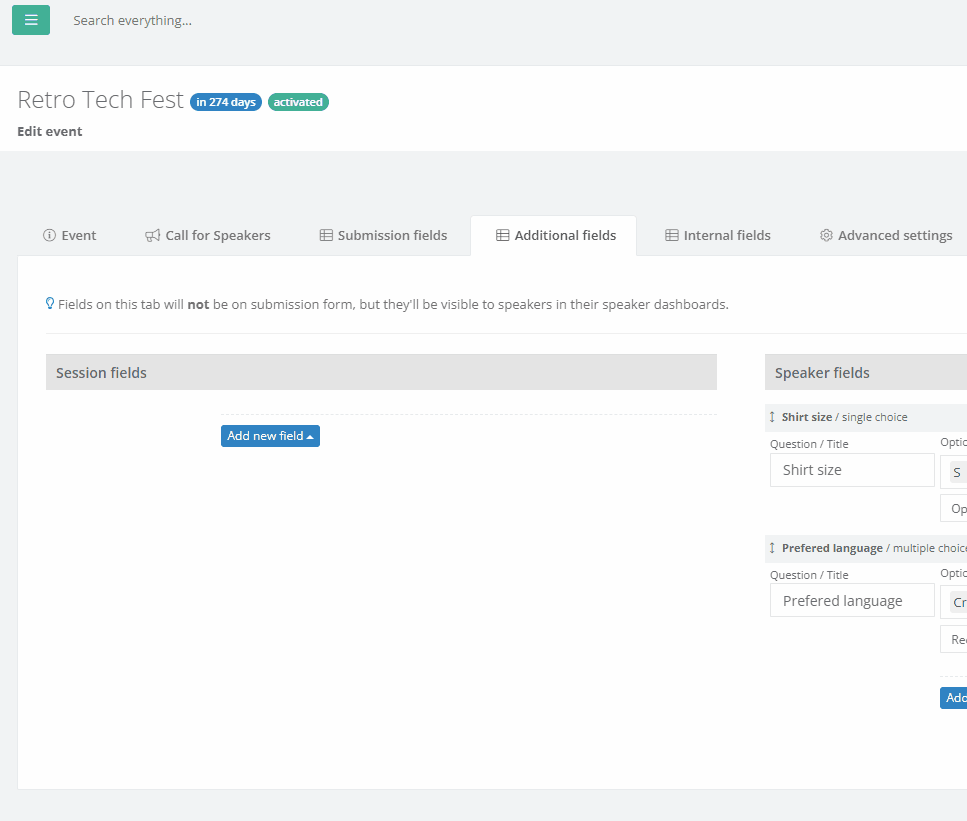
Fields added here aren't visible in the submission form, but they're visible to speakers in their speaker dashboard. Use these additional fields to find out everything you need to know about your speakers and their sessions but isn't appropriate for the Call for Speakers page. For example, you can use the additional fields to find out about their flight number, session's special technical requirements, and so on.
Nobody except yourself and your content team will see the internal fields. Use internal fields to enter session and speaker-related information that you want to keep private, whether it's sensitive or simply irrelevant to the speaker. Clever use of internal fields can greatly help your team handle your event's sessions and speakers.
Custom fields can be moved between field groups by clicking on the cog icon in the corner of the field's header and selecting where it should be moved.
Now that you have a good idea of the kinds of fields and their purpose, let's go over the numerous options for creating and managing them.
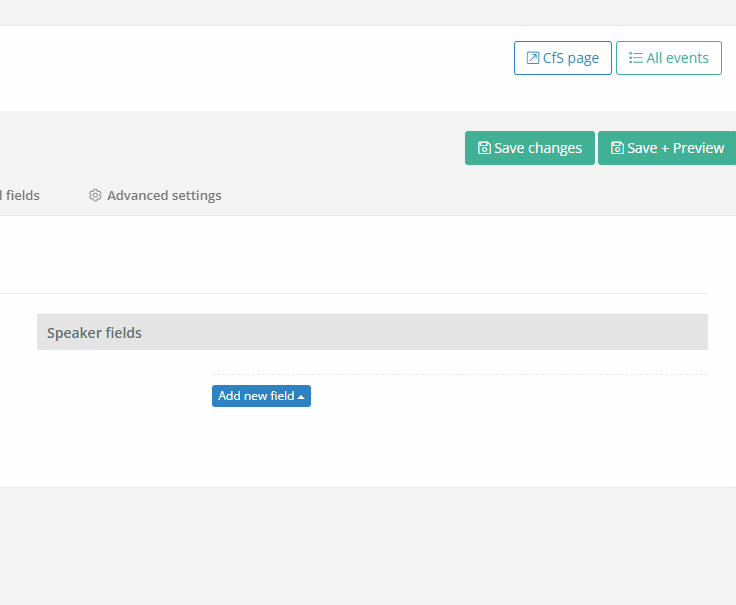
Adding new fields
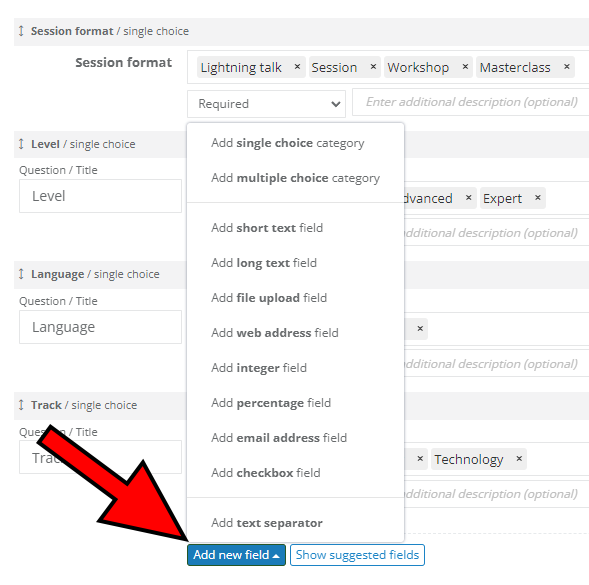
You have the liberty of adding any number of session and speaker fields to any of the three groups available on the Edit event page. To do so, click the Add new field button on either session or speaker side of the page, and select a desired type of field.
Regardless of the type of field you add, you can select the field question or title, determine if filling out the field is optional or required, and enter a description of the field, in case you feel it requires explaining.
Want to enable your speakers to upload their presentations? When adding a new field, use the Add file upload field option. This is a good example of a field best suited for the Additional fields group.
How about adding a consent-type field? Use the Add checkbox field and set it to Required.
Single and multiple choice fields
You can easily create single or multiple choice fields with predefined answers. Click Add new field and then select Add single choice category. Enter the question/title and write all of the options you want your speakers to be able to choose from. Click Save changes, and you're done!
We highly recommend using the single and multiple choice fields as much as possible, whenever possible. They're the only type of fields you can use for filtering and grouping in various parts of Sessionize, such as browsing sessions and speakers, evaluations, embedding and API.
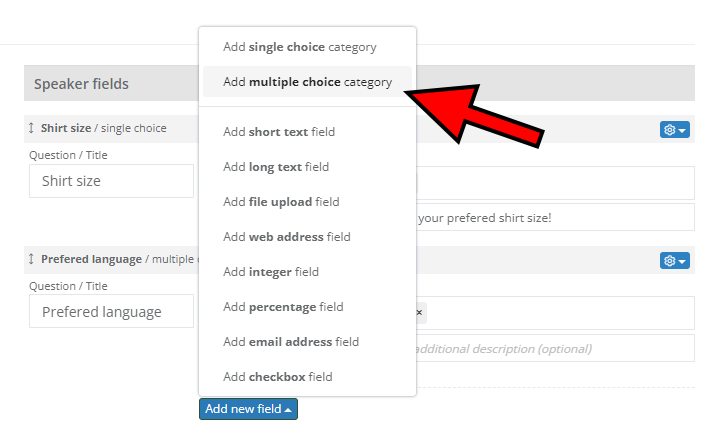
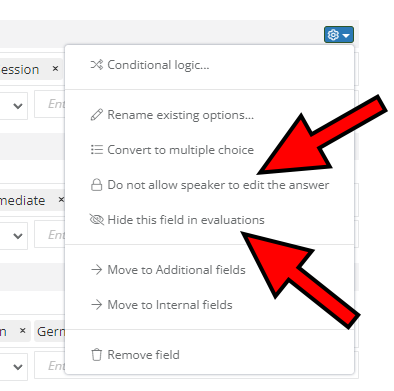
Multiple choice fields work the same way, with the only difference being that your speakers will be able to pick more than one choice you offered. To create such a field, use the Add multiple choice category. You can easily switch a field from single choice to multiple choice (and back) by clicking the cog wheel in the field's header and selecting Convert to multiple choice or Convert to single choice.
When using single or multiple-choice fields, your speakers aren't able to enter their own answers. They can only select the ones you entered when creating such fields.
Pasting multiple options at once

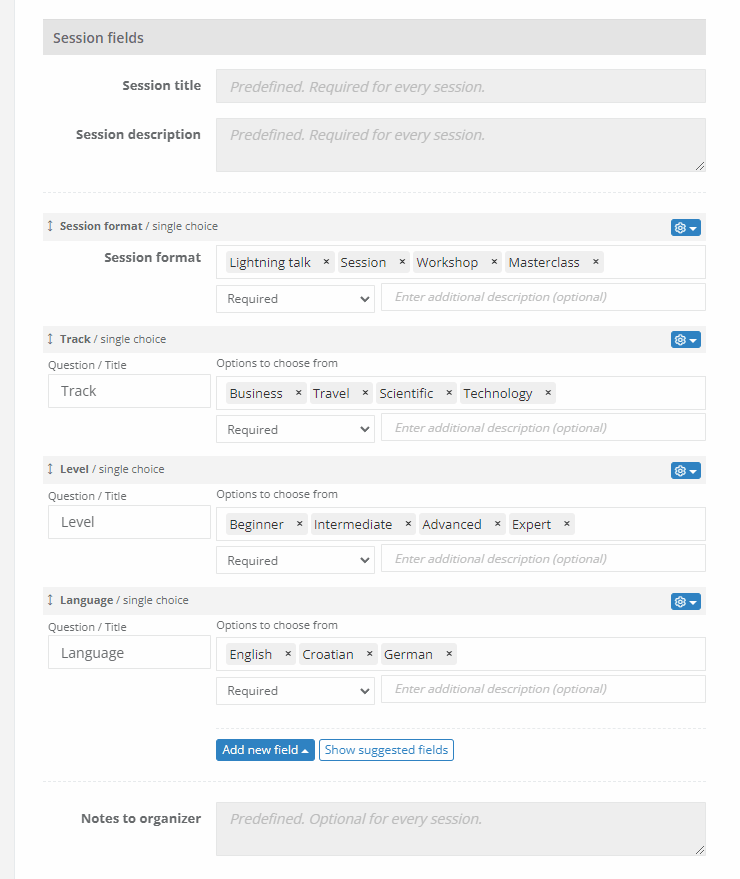
To enter many options into single choice or multiple choice fields at once, simply type the options you want to enter, separate them with a semicolon, and paste them into the field. For example, if you wanted to add Lightning talk, Session, Workshop, and Masterclass as session format options, you would paste the following into the appropriate field, as shown above:
Lightning talk;Session;Workshop;MasterclassText separator fields
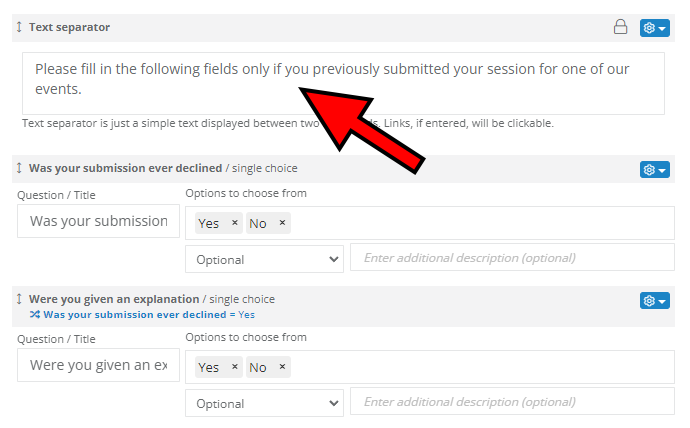
If you want to insert simple text between two fields, you can do so by adding the so-called text separator field. It's just a simple block of text that you can use to provide additional information to submitters in any part of the Call for Speakers form. Links added to text separator fields are going to be clickable.
Text separator fields can be configured to display only if certain conditions have been met, as described in the Conditional logic section at the bottom of this article. That means you can use them when you want to show warnings or suggestions after submitters select a particular answer.
Rearranging and moving fields
You can easily reorder the fields you added in any way you prefer. Simply click on the header of the desired field and pull it to where you want it. Click Save changes on top of the page to confirm your new field arrangement.
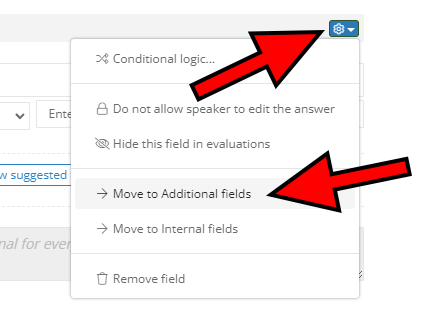
To move a field to a different group, click on the cog icon in the corner of the field's header and select where you want to move it. This is an excellent way of moving your fields around without having to delete them and create them from scratch elsewhere, and to preserve the data already entered in such fields.
Additional field options
The cog menu gives you access to multiple other field options, where you can fine-tune the behavior of each field you create.
The Do not allow speaker to edit the answer option could come in handy when you don't want to have the speakers changing their minds about their answers to fields for which you turn the option on. The headers of such fields will have the padlock icon.
Another interesting option is Hide this field in evaluations. Use it for questions that you don't want your team members to see. The setting will be applied to anyone doing the evaluations, even team members with the Organizer role. A strikethrough eye icon in the field's header indicates that the field is hidden in evaluations. That way, you can easily see which fields are hidden from evaluations and which are fully visible.
Conditional logic
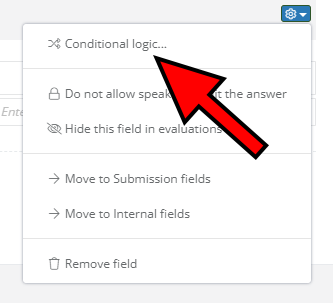
Using our Conditional logic system gives you even more control of the fields you're adding. You can have any of your fields show up or not depending on the answer in another field it's conditionally connected to. To use Conditional logic, click on the cog icon in the corner of the field's header and select Conditional logic.
We'll explain it in a real-life example. Let's say you want to find out if your speaker needs a translator for his session and which language the translator should speak. As shown in the animation above, this is how you would go about setting that up by cleverly using conditional logic:
- Add a single choice category field where you ask the speaker if he needs a translator, offer him Yes and No as answers, and make answering it Required
- Add a short text field where you ask which language the translator should speak and also make answering it Required
- Create a Conditional logic connection between the two fields by having the Your language field show up only if the answer in the Need a translator field is Yes
- Confirm by clicking Update
- Save everything by clicking Save changes
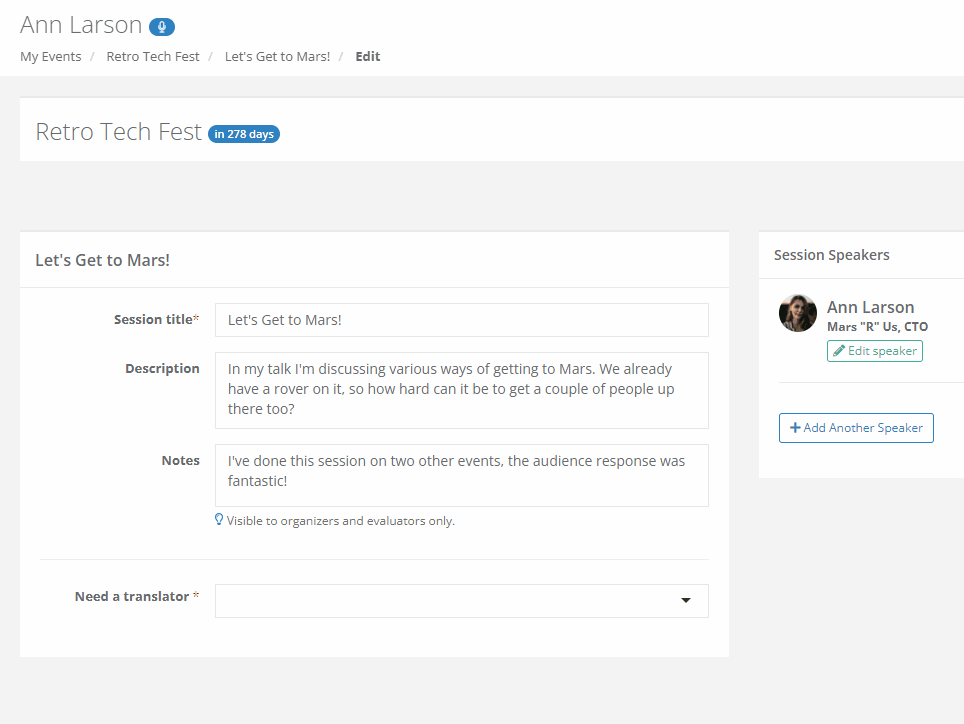
The animation above shows what speakers will see in their speaker dashboard after you set the fields up as described. They'll be asked if they need a translator for your event. If they answer Yes, a field asking them to name their language will appear.
To create conditional logic between two fields, you have to use the single choice/multiple choice category fields or checkbox fields. In addition, these fields have to be positioned above the field you want to add conditional logic to.