Boost the exposure of your event by sharing its sessions on social networks! Turn your speakers into ambassadors of your event! The Social Banners tool lets you easily create banners for your accepted sessions. The banners are tailor-made for social network posts and stories, making them an instantly shareable asset that promotes your speakers, their lectures, and your event. Use our background templates and a fine selection of fonts to create the banners in no time, or customize their design with your backgrounds. Here’s how it all works.
Create your Social Banners
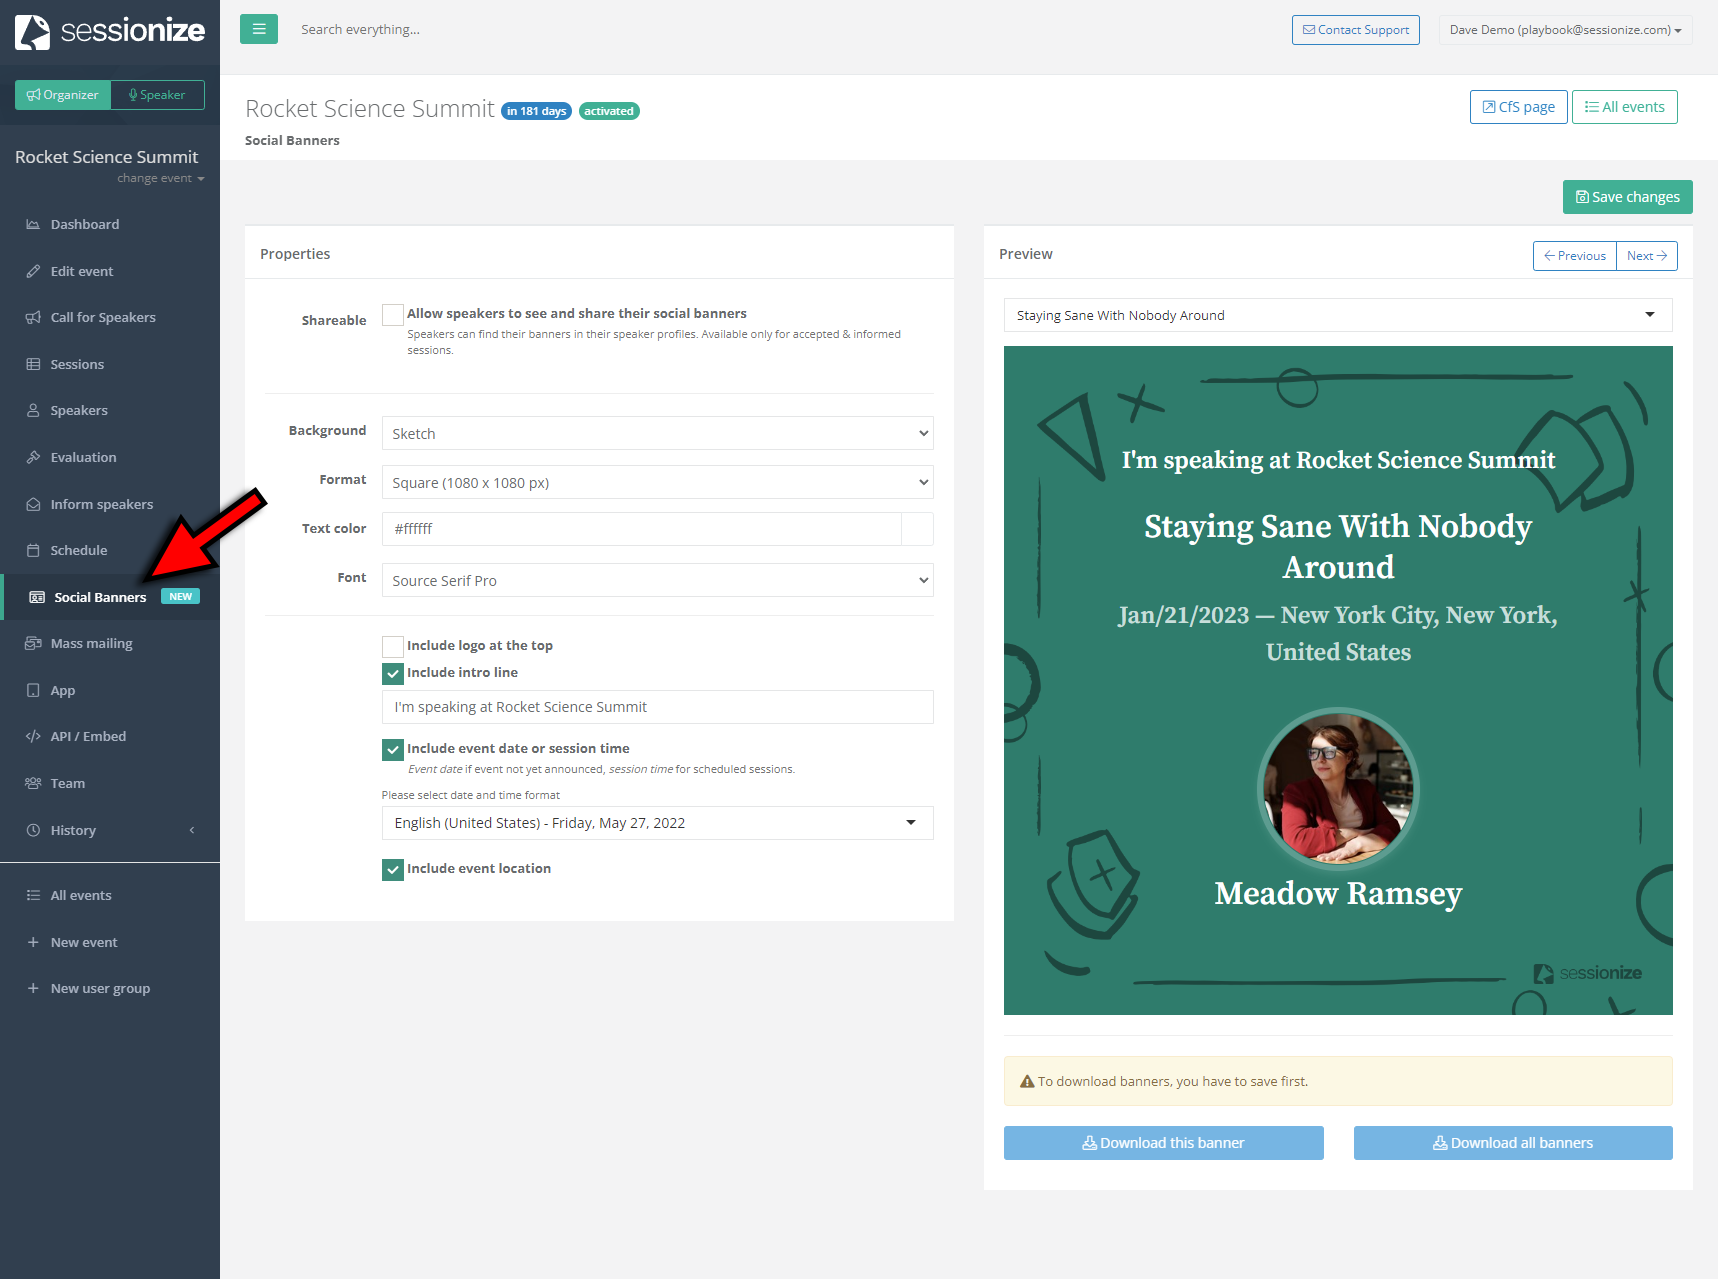
To start creating the banners for your accepted sessions, look for the Social Banners page in the menu.
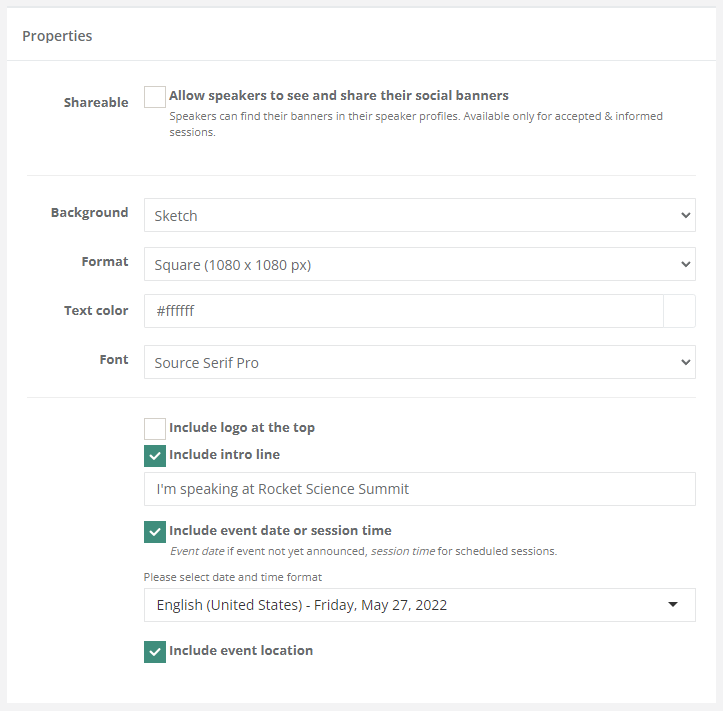
The page is split into two sections. The tools needed to design and configure your banners quickly are found on the left, under Properties.
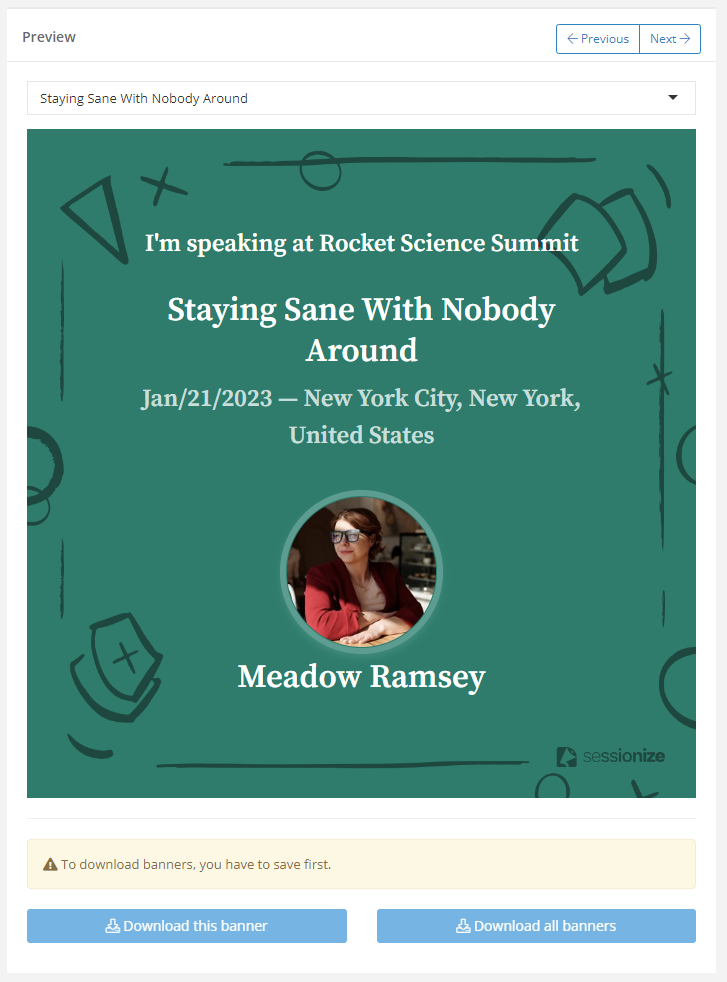
On the right is the Preview. Here you’ll see your currently selected speaker and session, a live preview of the banner you’re working on, and the appropriate download buttons.
Select the session you want to create the social banner from the dropdown menu. To quickly navigate through your accepted sessions, use the navigation buttons, Previous and Next, found above the banner preview window.
If the session you’re looking for isn’t listed, please check the Sessions page to see if it's been accepted. The social banners can only be created for accepted sessions.
Design your banners
If you’re in a hurry or not feeling particularly inspired, you’re welcome to use our background templates for your session banners. You’ll find them under the Background dropdown menu. Here you can also pick any solid color for a cleaner, no-frills look for your social banner.
If you want complete control over the design of your social banners, you can fully customize them by uploading your background. While images of all sizes are accepted, we recommend aiming for a 1920x1080 image resolution for the best results. Of course, if you're creating a banner for your social network stories, go with a portrait variant of your custom background (1080x1920 pixels). Once you upload your custom background, use the preview window to resize the session info to your liking. Just grab it by the edges or corners and pull!
Our design templates and solid color backgrounds come with the Sessionize logo in the bottom right corner. The logo isn't added to custom backgrounds, so that's a way to remove it. Let's call this an officially supported hack!
Text color and font are completely customizable too. Don’t be afraid to experiment with various colors and fonts. We ensure your intro line, session details, and speaker photo stay consistent regardless of your choice.
Decide what to share
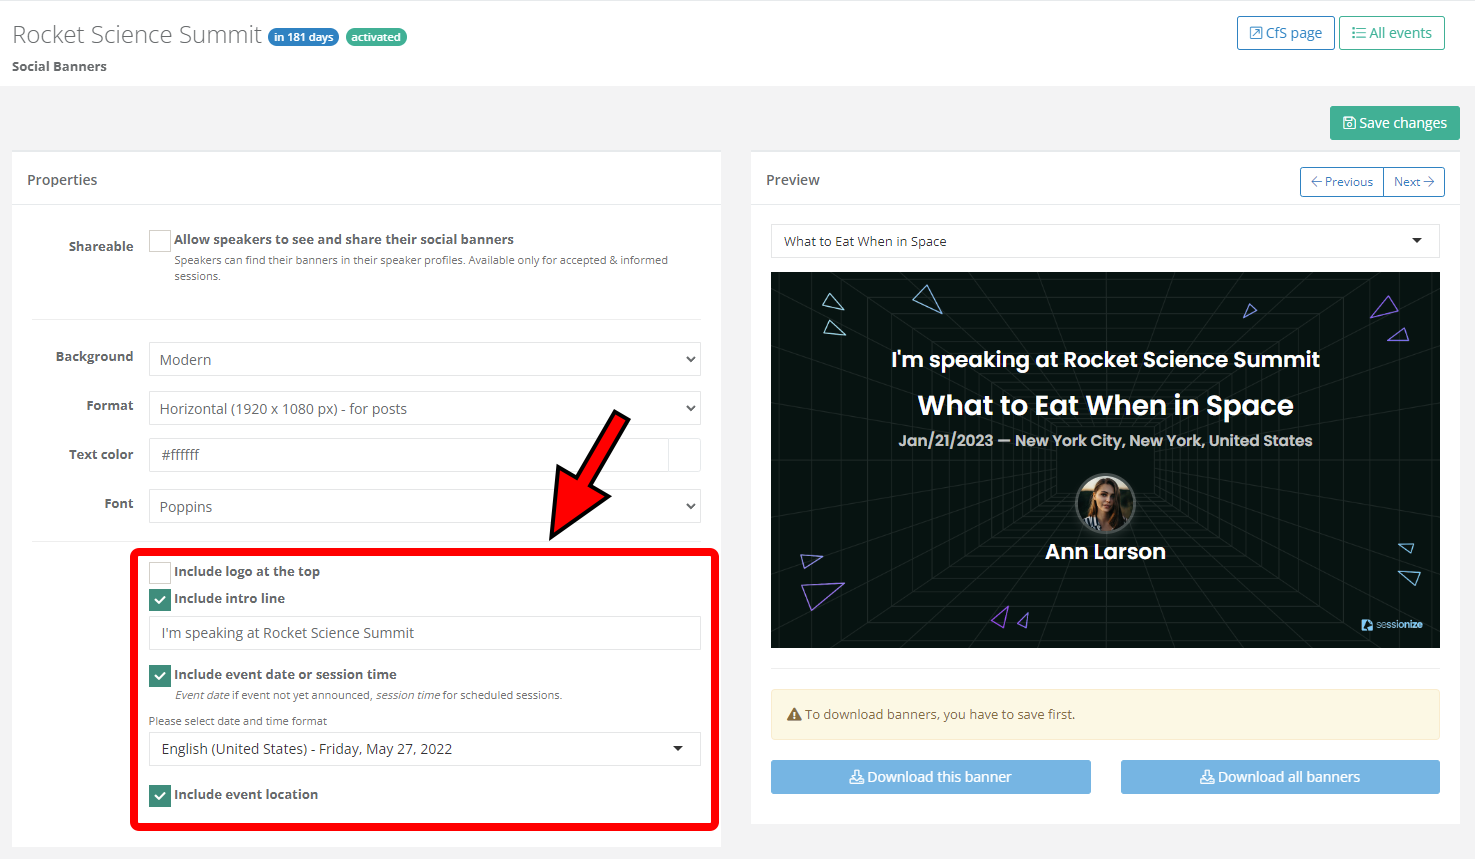
Picking the information that will be presented on your social banners is straightforward. Simply click on the appropriate options in the Properties window. You can add an introduction, event date(s), or session time (depending if the event's schedule has been announced), as well as the event location. All relevant time and date formats are available for you to pick from.
There's also an option to brand the top of the banner with your event's logo. A horizontal logo works best for this purpose.
Save changes and download banners
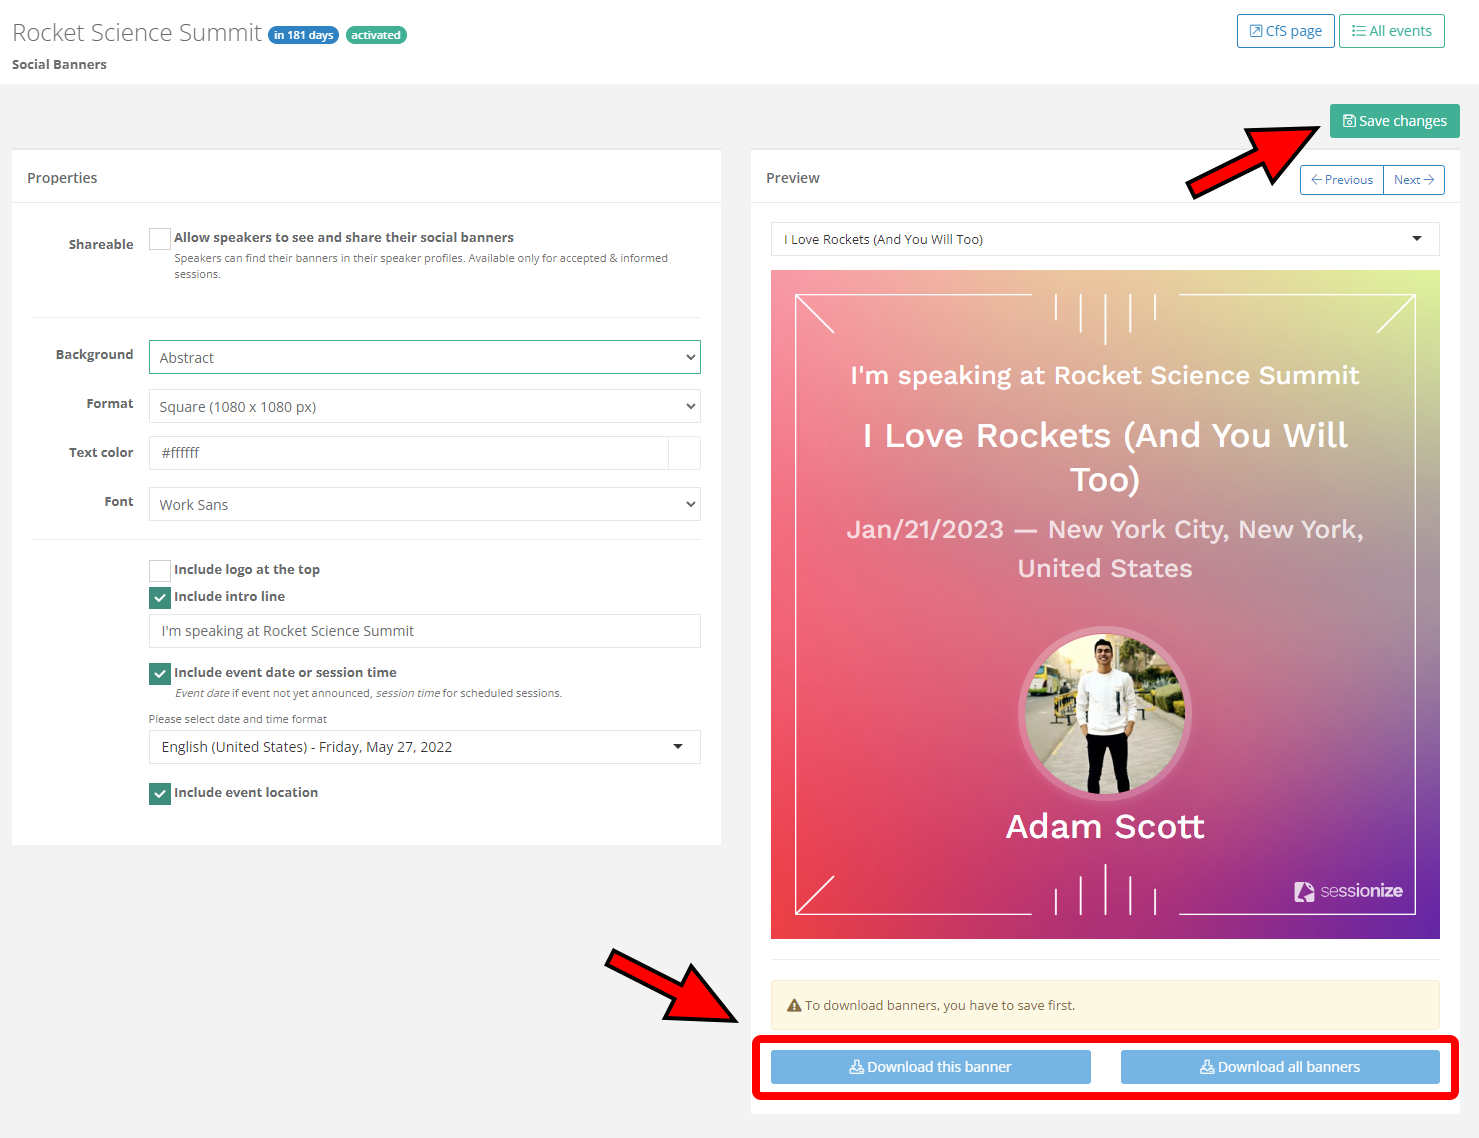
Once you're happy with the results, click on Save changes. The only remaining thing to do is to download the banners by using the two buttons at the bottom of the page: Download this banner or Download all banners. The latter will result in a ZIP file containing social banners of all accepted sessions. Depending on their number, the creation of the ZIP file can take a while.
That's it! You just created a social banner for your session. You can share it on social network posts and stories yourself.
Let speakers access their banners
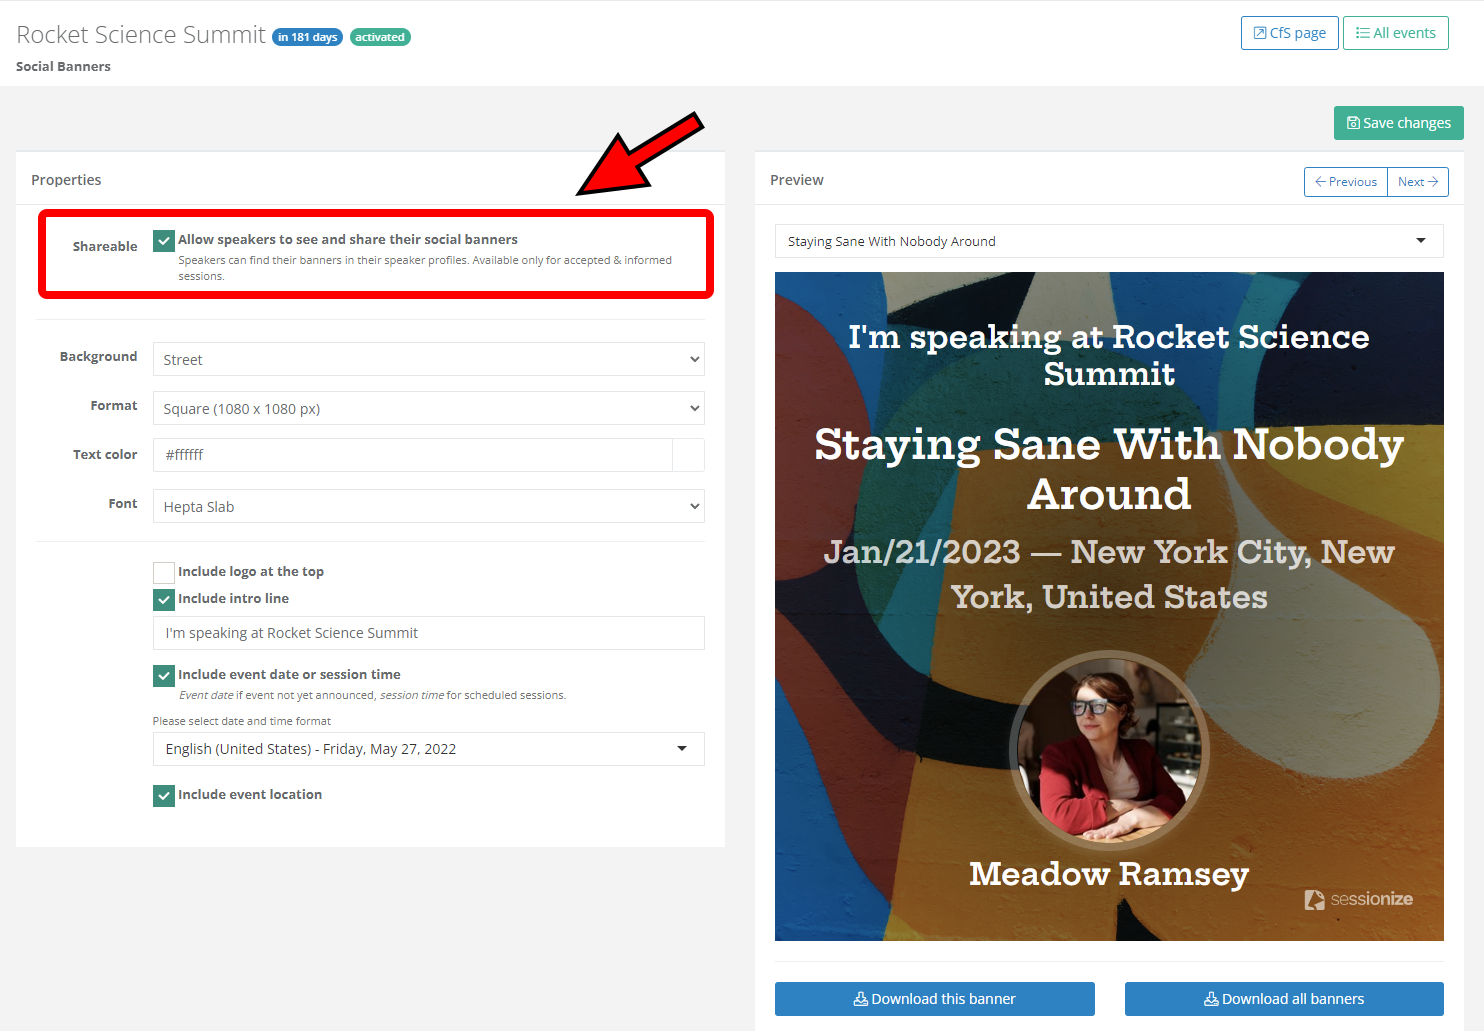
To promote your event even more, let your speakers access their banners and share them themselves! Simply check the Allow speakers to see and share their social banners option at the top of the Properties section of the Social Banners page.
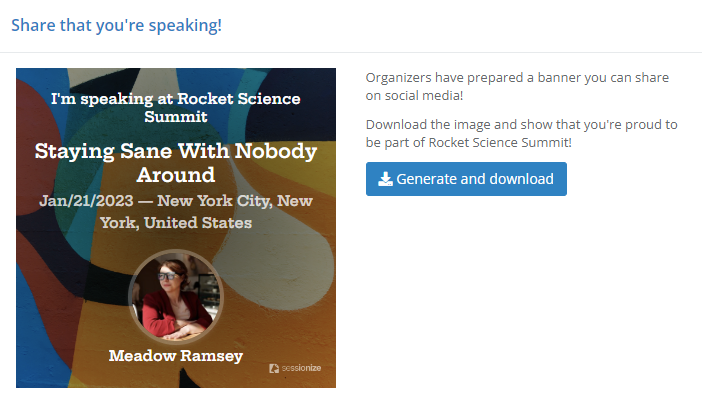
Your speakers will see their banner on their speaker profile and will be able to download it.