Every event created in Sessionize is a unique entity, with its own content and security and privacy settings. However, we also offer several useful features designed specifically for organizers who host multiple events. The idea behind them is to make your life easier by letting you do things like reuse existing event settings and quickly add trusted team members who were present in your previous events. Let's break them down.
One account for all events
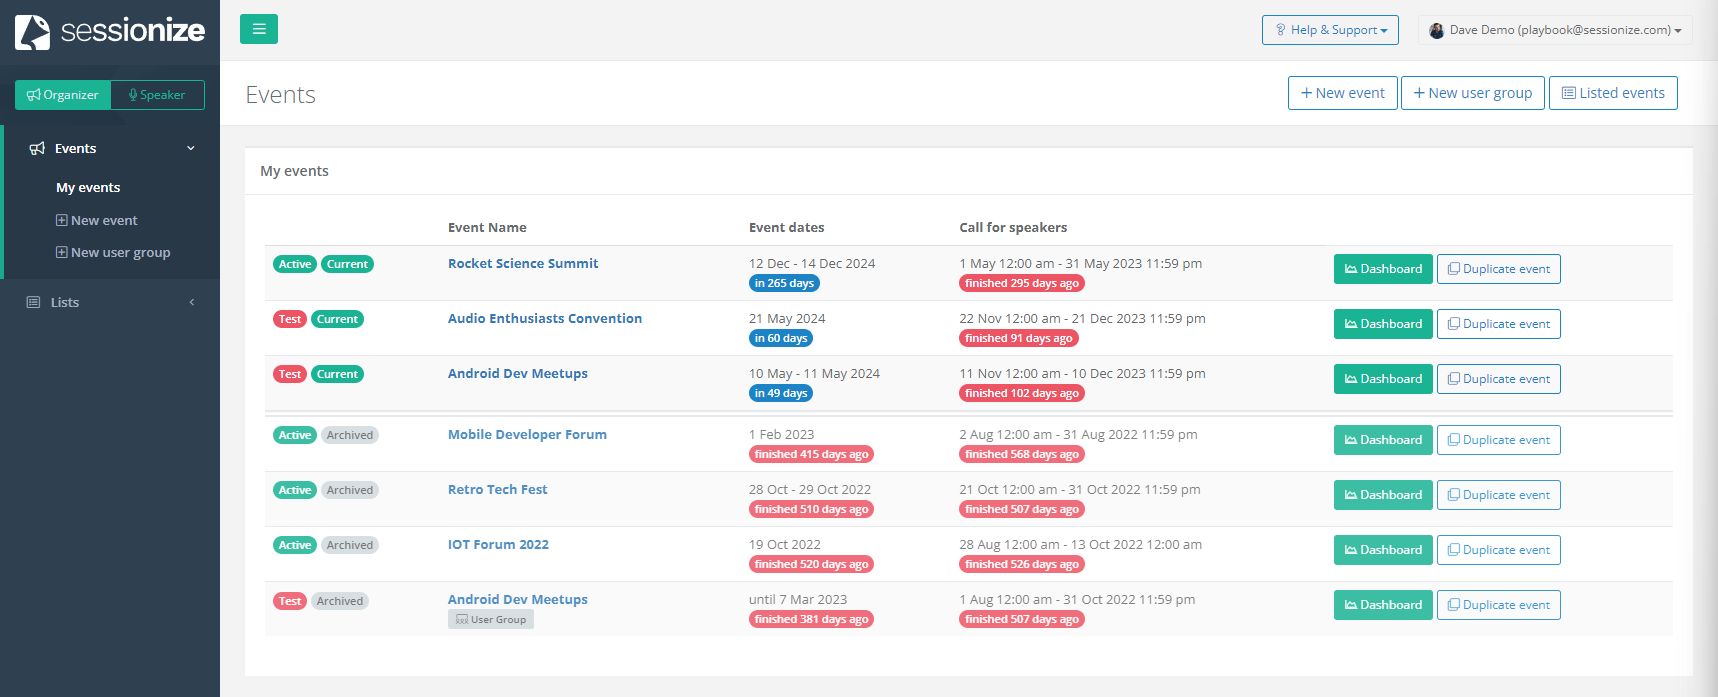
There's no need to create new user accounts for multiple events. All events are created and managed by using the same user account. Your Organizer dashboard will always display all of your past and present events.
Duplicating an existing event
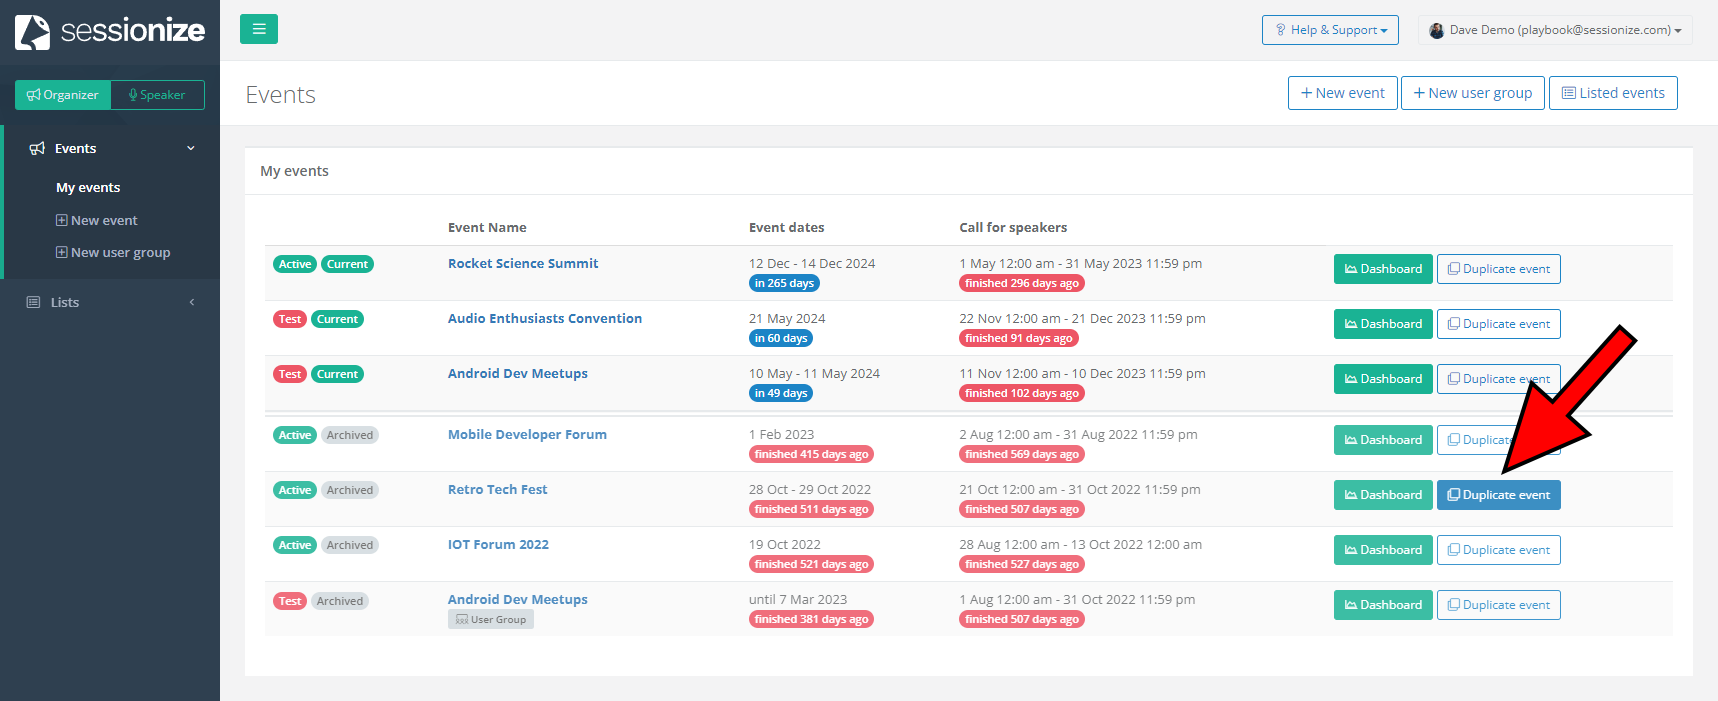
If you're preparing a new instance of your past event, you can simply duplicate an existing event and use it as a basis for the new event. By doing so, you'll copy the event info (description, venue, website, etc.), all of its settings, as well as the entire call for speakers page setup. To do so, visit the Organizer dashboard and click the Duplicate event button next to the event you want to copy. Confirm by clicking OK and proceed to set up your new event.
Quickly adding team members

While you usually have to invite team members to your event and have them accept the invitation, there's a way to skip that process when adding members from other events.
- On the Team page of your event, select one of your other events from the drop-down list. You'll see a list of that event's team members, as well as their roles
- Click the checkboxes next to the members you want to add to your current event
- Click the blue Add selected members button
- Confirm by clicking Yes, add team members
Team members added from a different event will keep their past roles. If those roles don't suit you in your current event, make sure to change them accordingly. It's worth noting that team members added this way won't get a notification; your new event will simply show up in their dashboard. Needless to say, use this feature only for the trusted members of your team.
Every event on Sessionize has its own owner and team. If you want to change the event owner, you can do so by giving the desired person the Organizer role and contacting our customer support. Both Owner and Organizer team roles have full access to the event; the only difference is that the Owner cannot be removed from the event.
Viewing speaker participation in other events
Wondering if a certain speaker submitted their session(s) to your other past or present events? Sessionize offers a quick overview for each speaker.
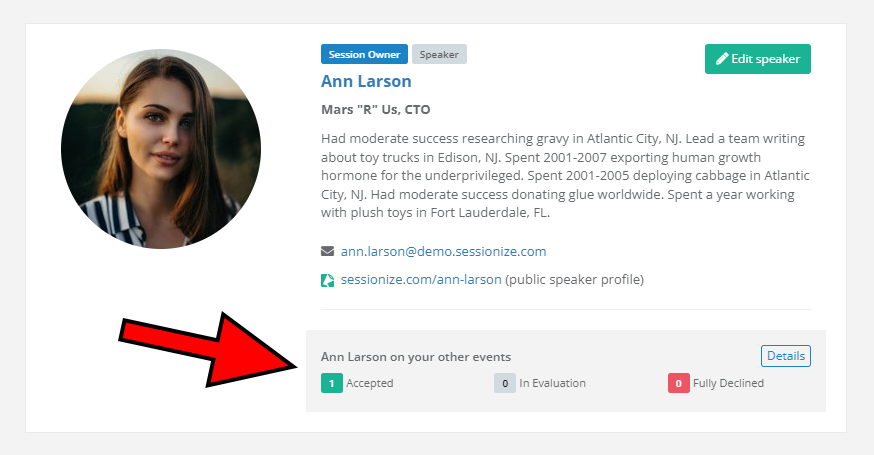
If you click on a session on the Sessions page, you'll see a concise breakdown of that speaker's participation in your other events.
- Accepted: the number of events in which the speaker has at least one accepted session
- In Evaluation: the number of events in which the speaker could still be accepted (not all of their sessions are declined)
- Fully Declined: the number of events in which all sessions submitted by the speaker are declined
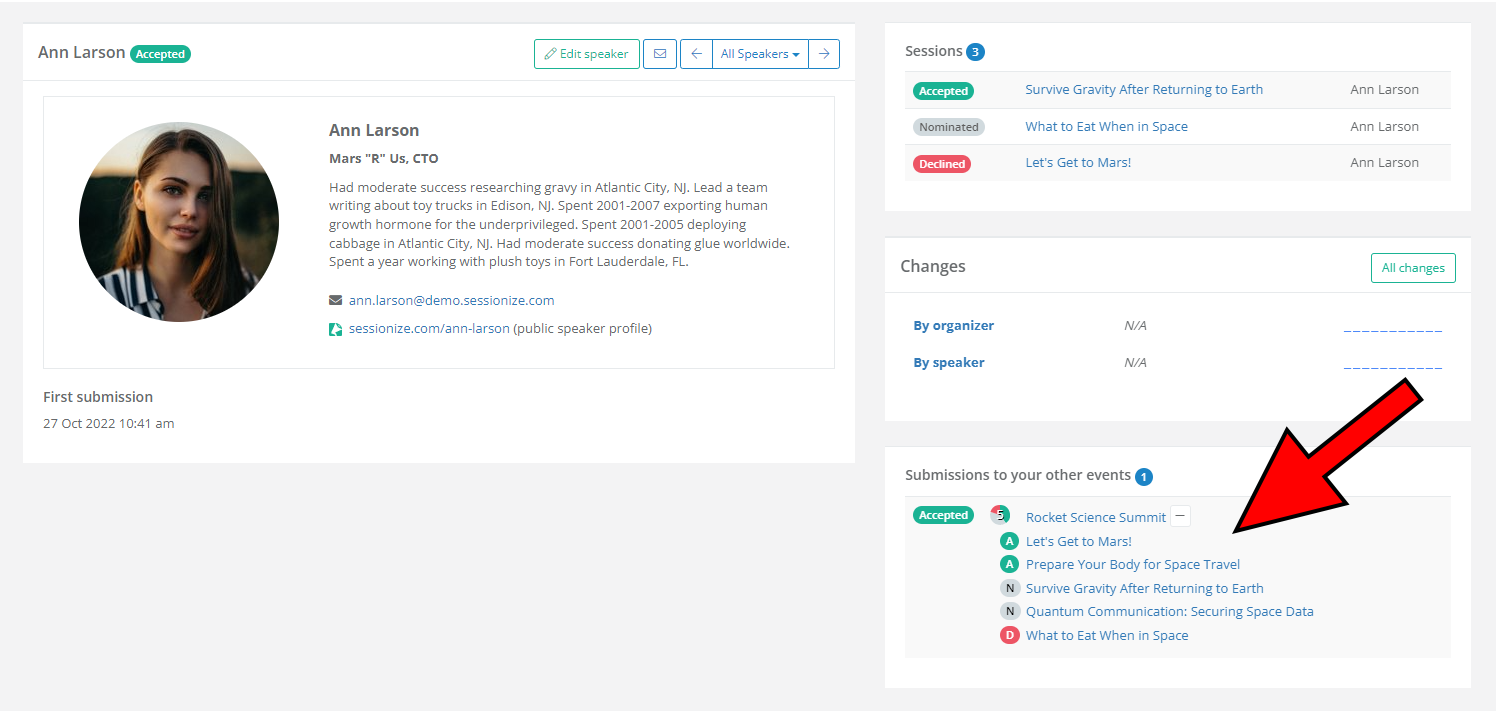
If you click on a speaker on either the Sessions page or Speakers page, you'll get a more in-depth overview of the statuses of sessions they've submitted to your other events.
Creating a list of own events
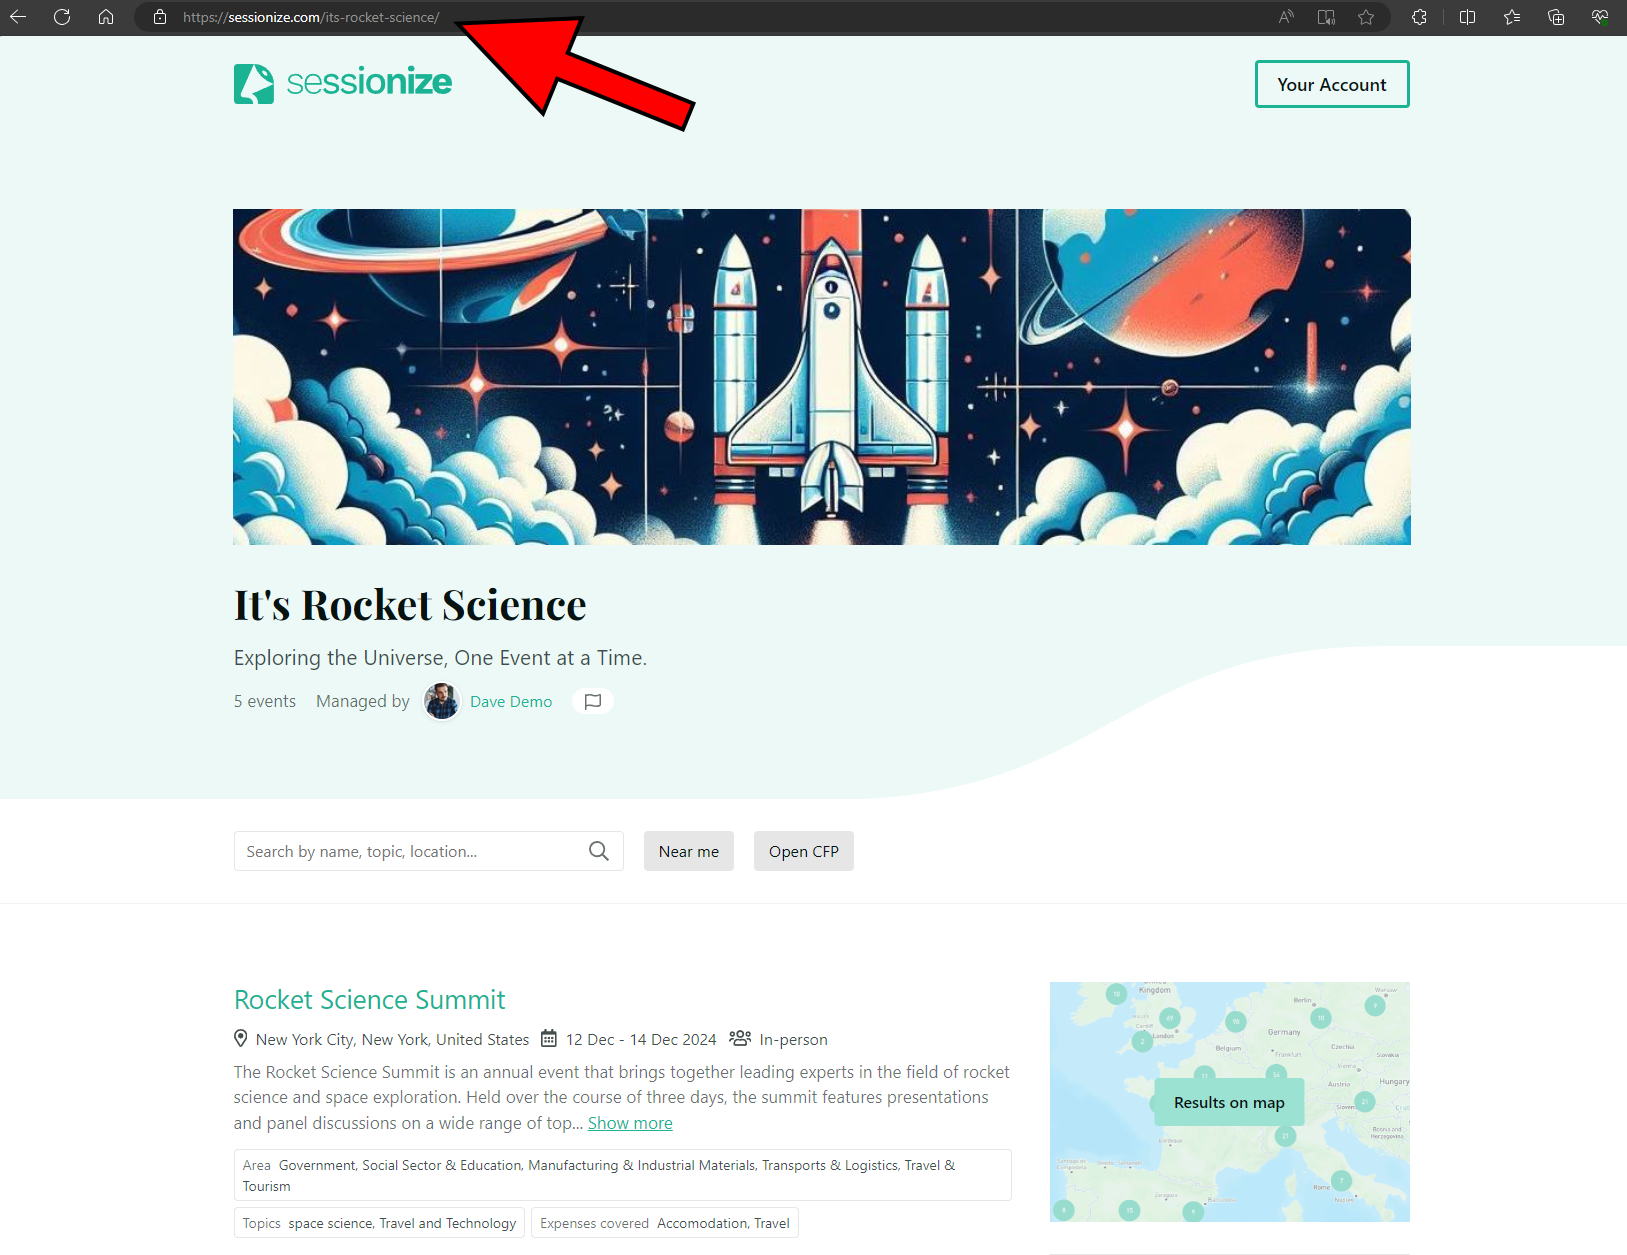
You can create a list of your events and share it with potential speakers. This is a good way of instantly establishing yourself as an experienced event organizer, thus making it more likely you'll catch the attention of top-quality speakers. Here's how.
- On the New event list page, fill out the list details, including its name, tagline, and description. Attach a suitable cover photo and pick a nice vanity URL. Click Create event list to create it
- Click the blue Manage events button to add your events to the list
- In the Your events box, click on the green + Add button next to the events you want to add to the list. You need to have at least five events on the list to be able to make it public
- Go back to the List info menu, check the Publish list (visible to public) box, and confirm by clicking Save changes in the top-right corner of the page
For a more in-depth overview of the list creation process, as well as everything you need to know about managing your lists, please refer to the following article: Lists help you group and promote speakers and events.
Bulk pricing options
If you organize five or more events annually, you are welcome to contact us to discuss bulk discounts.